Creating Graphics The Easy Way with Canva
Ever wanted to create a cute lil website or social graphic but have no access to the magnificent Adobe Creative Cloud (Photoshop, Illustrator, etc.)? I’ve got good news for you – The good news is free and it’s canva.com!
Canva is a graphic-design tool website which utilizes a drag-and-drop format, simplifying the design process. To add to it’s free-to-use goodness, Canva comes with tons of ready-made templates that are easily editable to match your brand and the messaging you wish to pass along. How to use Canva? Easy!
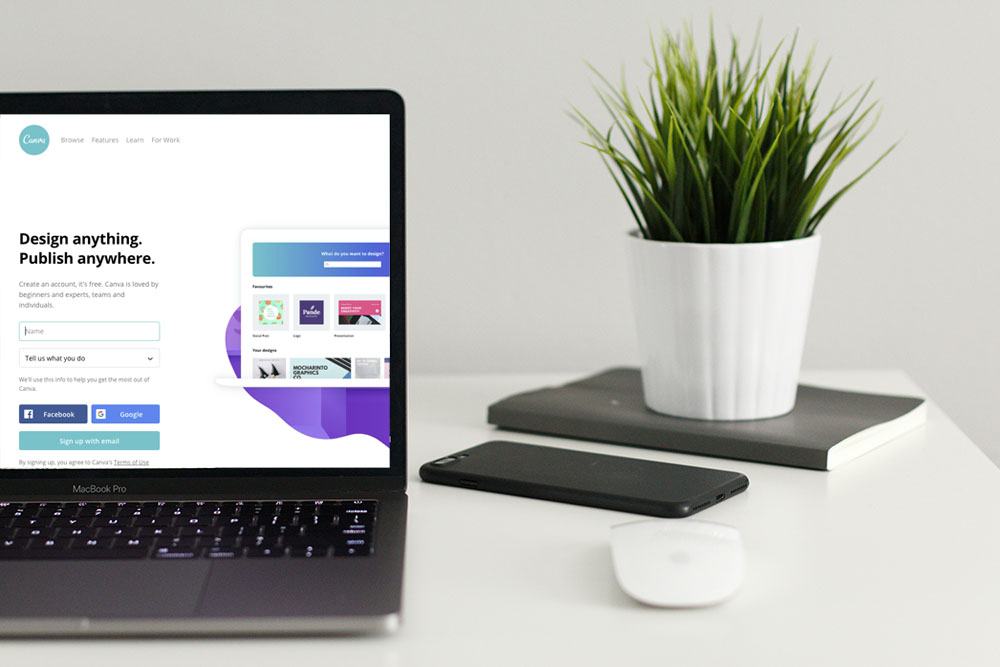
Start off by creating a new account at canva.com. Simply enter your name, then click the drop ‘Tell us what you do’ dropdown to select whichever categories best describes what you do. Canva lets you register via Email, Facebook & Google – personally, I prefer the social methods as they don’t require entering your username and password whenever you want to login. Follow the subsequent instructions you’re given to complete the creative of your account.
Once you have successfully created an account and logged in for the first time, Canva will display a screen with design templates / suggestions based on what you selected from the ‘Tell us what you do’ dropdown when registered. For me, I selected small business and these are my options:
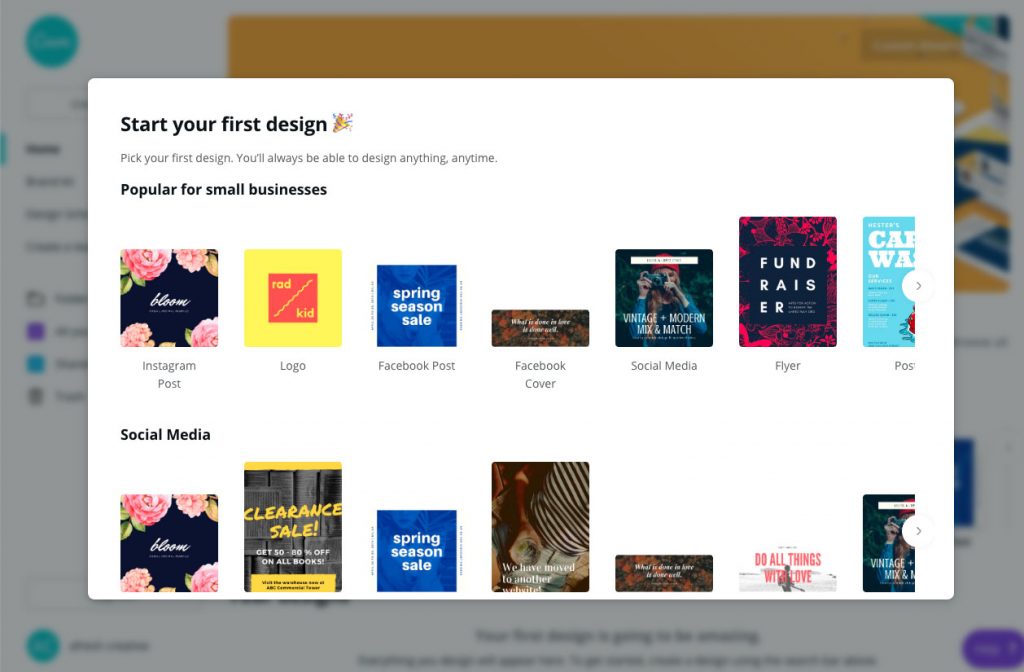
Make a selection based on what you plan on using the graphics for. The good thing about Canva is that all options above have already bene pre-sized to match the standard design size for whatever you plan on using your final design for. For example, if you you wanted to create a graphic to post on Instagram, you’d select the ‘Instagram Post’ option.
After you have selected the option that best meets you needs, you’d be immediately shown the ‘editor’ screen with options to ‘use a template’ or ‘design from scratch.’
Designing from a template: Templates on Canva come fully customizable, meaning you can changes images, colours, text, and any other elements the template comes with. The templates available to you will be shown on a sidebar to the left side of your screen.
Within the sidebar, you’d find a search bar (helpful in the event you know exactly the kind of template you need), as well as different templates grouped by category. Once you have found a template you love, using it simply requires clicking it. Doing so will replace the white artboard / page content with the exact template you selected.
As previously mentioned, if there is an aspect of the design you don’t fancy much, it can be edited and/or deleted. To make changes, select the layer in the design you’d like changed by clicking. Any change(s) you make to the design will automatically be saved.
In the example below, we’d be changing the text on the design. To do so, we click on the text box once – doing so will create a bounding box around the text layer, indicating it is editable.

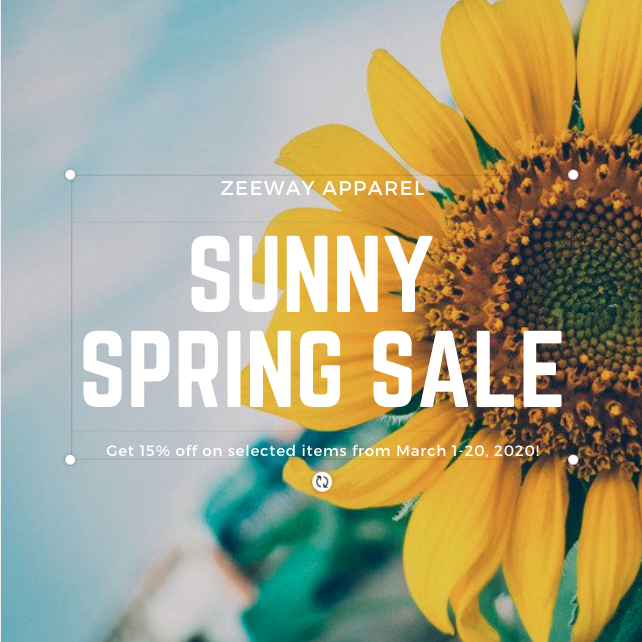
Simply highlight the text you would like changed, as you would in a Word document, then input the text of your choice.
The final step, the most exciting step, is saving your design to share on your website or social media. If you haven’t already picked a name for a design, you can do so before saving – simply double click on the text box first to the right of the top toolbar.
To save your design with the new file name you’ve inputted,, simply click the ‘Download’ button located in the top-right corner of the Canva window. Clicking download will display a ‘Download’ popup.
For designs I plan on using online, I usually leave the File type as PNG because unlike jpg, the quality of the image will not be altered (this could also result in a higher file-size). If you plan on printing your final product, I suggest selecting ‘PDF Print’ as the file will be saved in high quality format, with all the elements you used intact for printing.
And there you have it – You’ve created your first-ever Canva design. That was pretty simple wasn’t it?


No Comments